Migrating a ZFS pool to new drives in Proxmox
Sooner or later every pool outgrows its drives. This is how I moved a ZFS pool in Proxmox onto a new set of bigger disks — not by swapping drives in place, but by building a fresh pool and replicating everything over.
This is a republish of notes from my old blog, written when I actually did this migration. The screenshots are from that run.
Two ways to do this
In-place replacement. Swap one drive at a time with zpool replace (or attach/detach on mirrors), resilver after each, and the pool grows once every member is upgraded (with autoexpand=on). The pool’s identity never changes.
Replicate to a fresh pool. Create a new pool on the new drives, copy everything with zfs send | zfs receive, destroy the old pool, and rename the new one to take its place.
In-place is less typing if you only have the drive bays for it. But the fresh pool gets you things in-place can’t: a clean ashift if your old pool was created wrong, zero fragmentation, and a chance to rethink the layout (mirror to RAIDZ, for example). It also resilvers nothing — replication reads the data once, sequentially, instead of stressing old drives with one full resilver per swap.
I went the fresh-pool route. Here’s the run.
Starting point
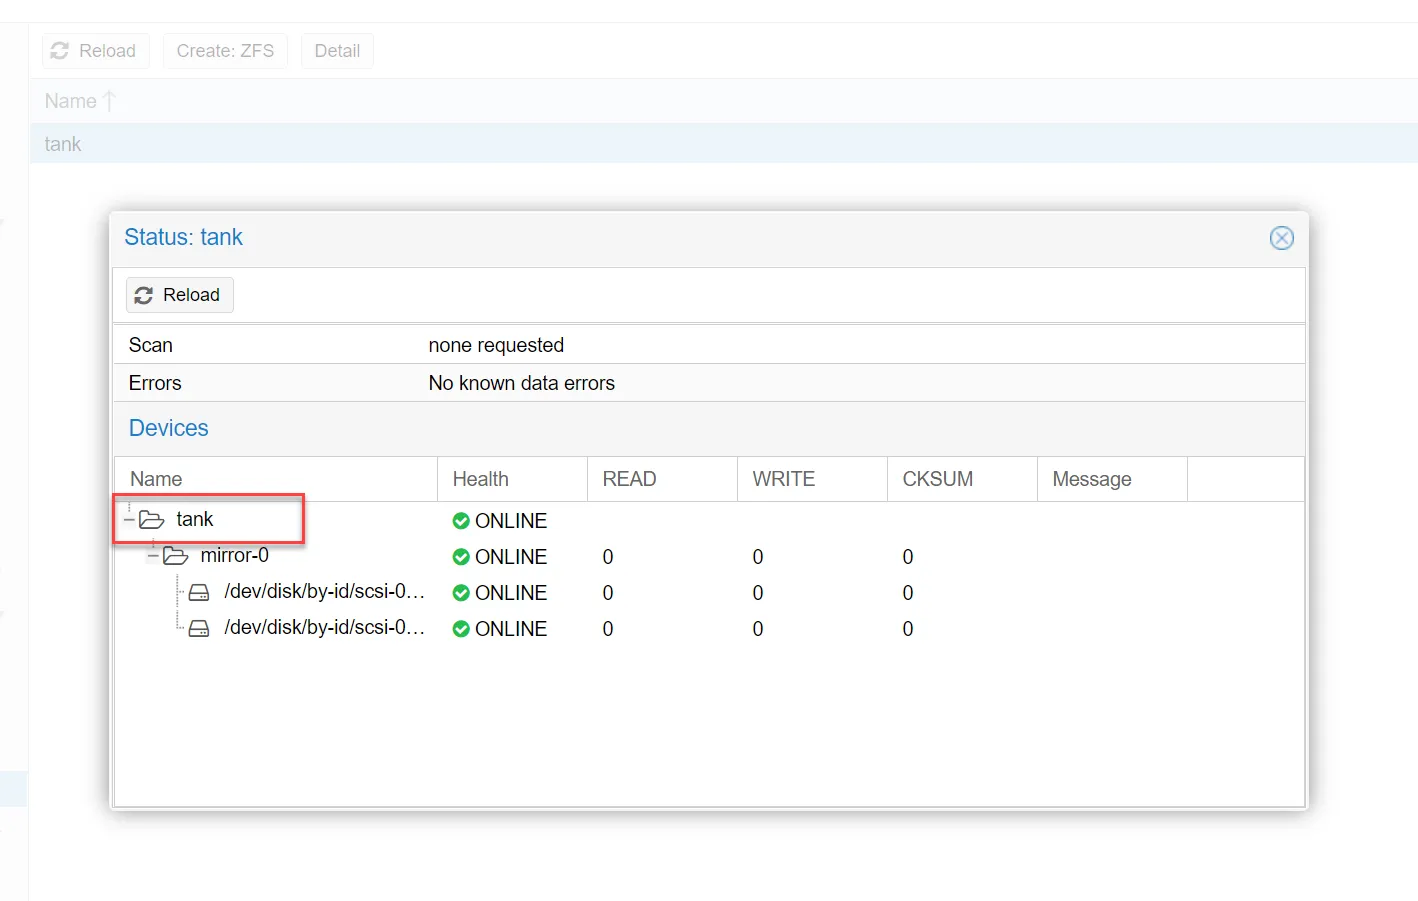
The existing pool — tank, a two-disk mirror, healthy:
Before anything else: scrub it. You’re about to make this pool the only copy of your data that matters, so make sure it’s clean.
zpool scrub tankzpool status tank # wait for: scrub repaired 0B ... with 0 errorsStep 1: Build the new pool
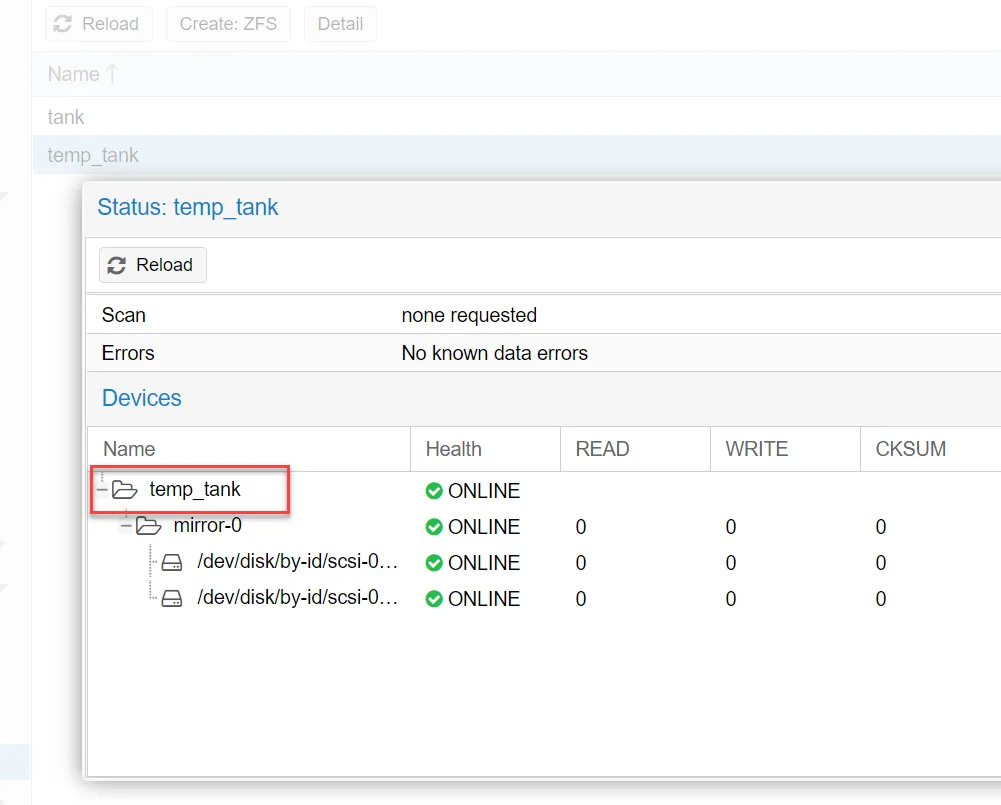
Connect the new drives and create a pool on them — same as creating any ZFS pool in Proxmox, except the name must be temporary. I used temp_tank:
zpool create -f -o ashift=12 temp_tank mirror \ /dev/disk/by-id/<new-disk-1> \ /dev/disk/by-id/<new-disk-2>As always: by-id paths, not /dev/sdX.
Both pools now exist side by side:
Step 2: Replicate the data
Stop everything writing to the pool first — shut down the VMs and containers whose disks live on it. Replication copies a snapshot, and anything written after the snapshot doesn’t come along.
# Snapshot everything, recursivelyzfs snapshot -r tank@migrate
# Send the whole pool, with all datasets, properties and snapshotszfs send -R tank@migrate | zfs receive -F temp_tank
-R replicates the full dataset tree with properties; -F lets the receive overwrite the empty target. For a big pool this runs for hours — it’s a full sequential read of your data. pv in the middle of the pipe gives you a progress bar if you want one.
When it finishes, compare:
zfs list -r tankzfs list -r temp_tank # same datasets, same used spaceStep 3: Destroy the old pool
The scary step, so do the checks first: the replication completed without errors, zfs list matches, and ideally you’ve spot-checked some actual files. Then:
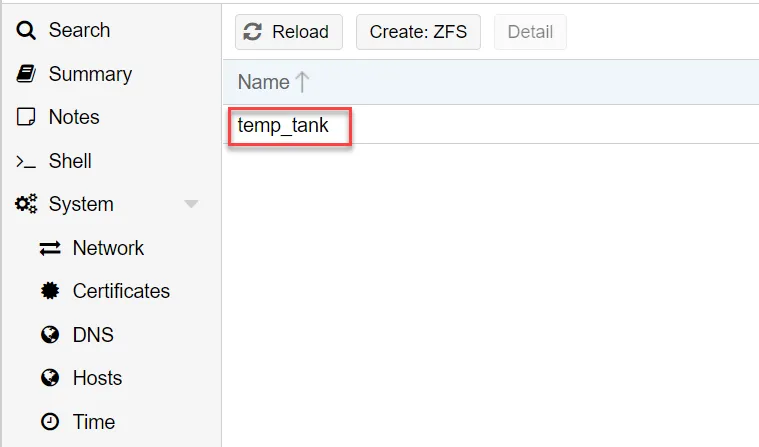
zpool destroy tankOnly temp_tank remains:
If you have the bays to spare, there’s a more cautious version: zpool export tank instead of destroy, pull the old drives, and keep them on a shelf for a week. An exported pool can be imported again; a destroyed one is gone.
Step 4: Rename the new pool
ZFS renames pools through export/import:
zpool export temp_tankzpool import temp_tank tankThe new pool is now called tank — and this is the point of the whole naming dance: Proxmox’s storage config references the pool by name. The entry in /etc/pve/storage.cfg still says tank, so every VM disk and container volume points at the right place without touching a single VM config.
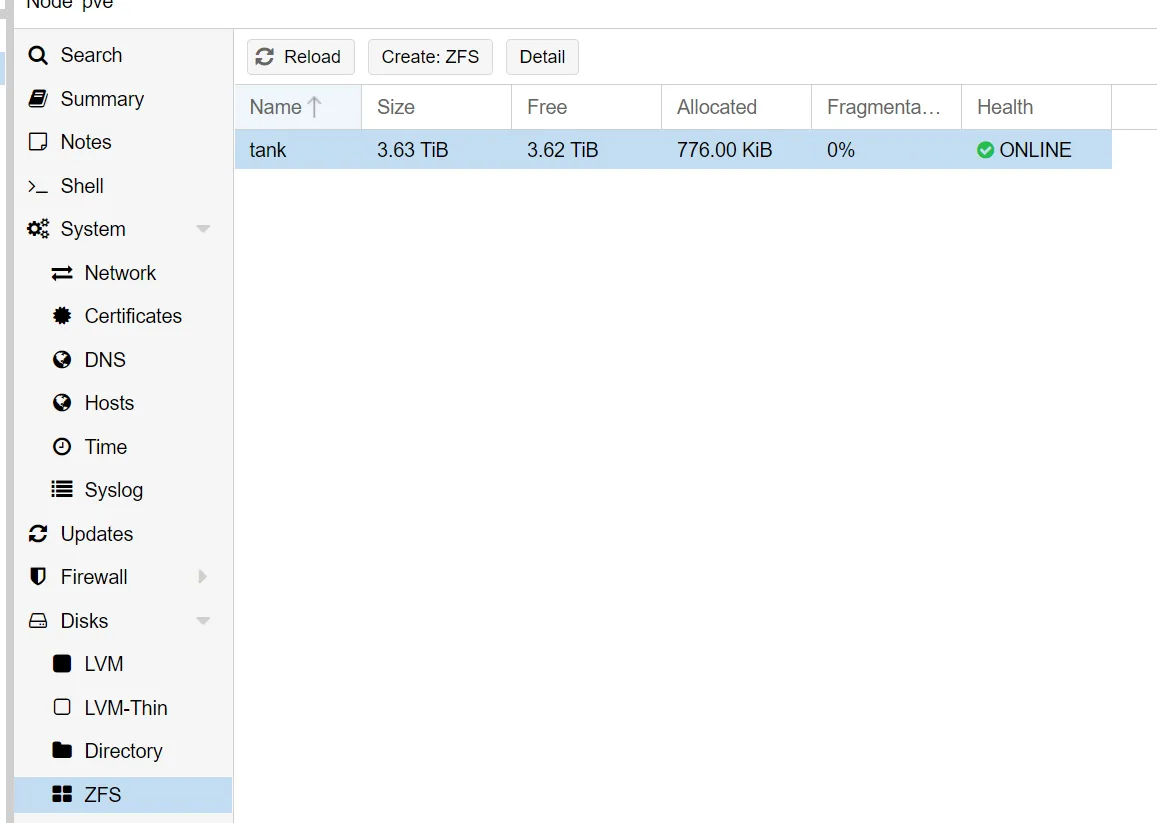
The end state — tank, on the new drives, with the new capacity:
Restart the VMs, then run a scrub on the new pool to confirm everything landed intact:
zpool scrub tank(Screenshots are from the older Proxmox release I ran this on — newer versions restyle these views, but the steps are unchanged.)
Notes from the run
- The snapshot sticks around. After you’re done,
zfs destroy -r tank@migratecleans up the migration snapshot on the new pool. autoexpanddoesn’t matter here — the new pool was created at full size. It matters for the in-place method.- Same-name trap: you can’t have two pools named
tankimported at once, which is why the new pool has to live under a temporary name until the old one is gone. - This is also a backup test. The first time I did this, the most valuable output wasn’t the bigger pool — it was finding out my “I could restore this if I had to” assumption actually held.